I've been meaning to make these for
a year now. Today, I'm happy to say that
I completed them--and moved more
"stuff" out of my sewing room!
(you know I'm just making room for new fabric, don't you?)
Check yet another project off the list!
Yay, me! On. A. Roll!

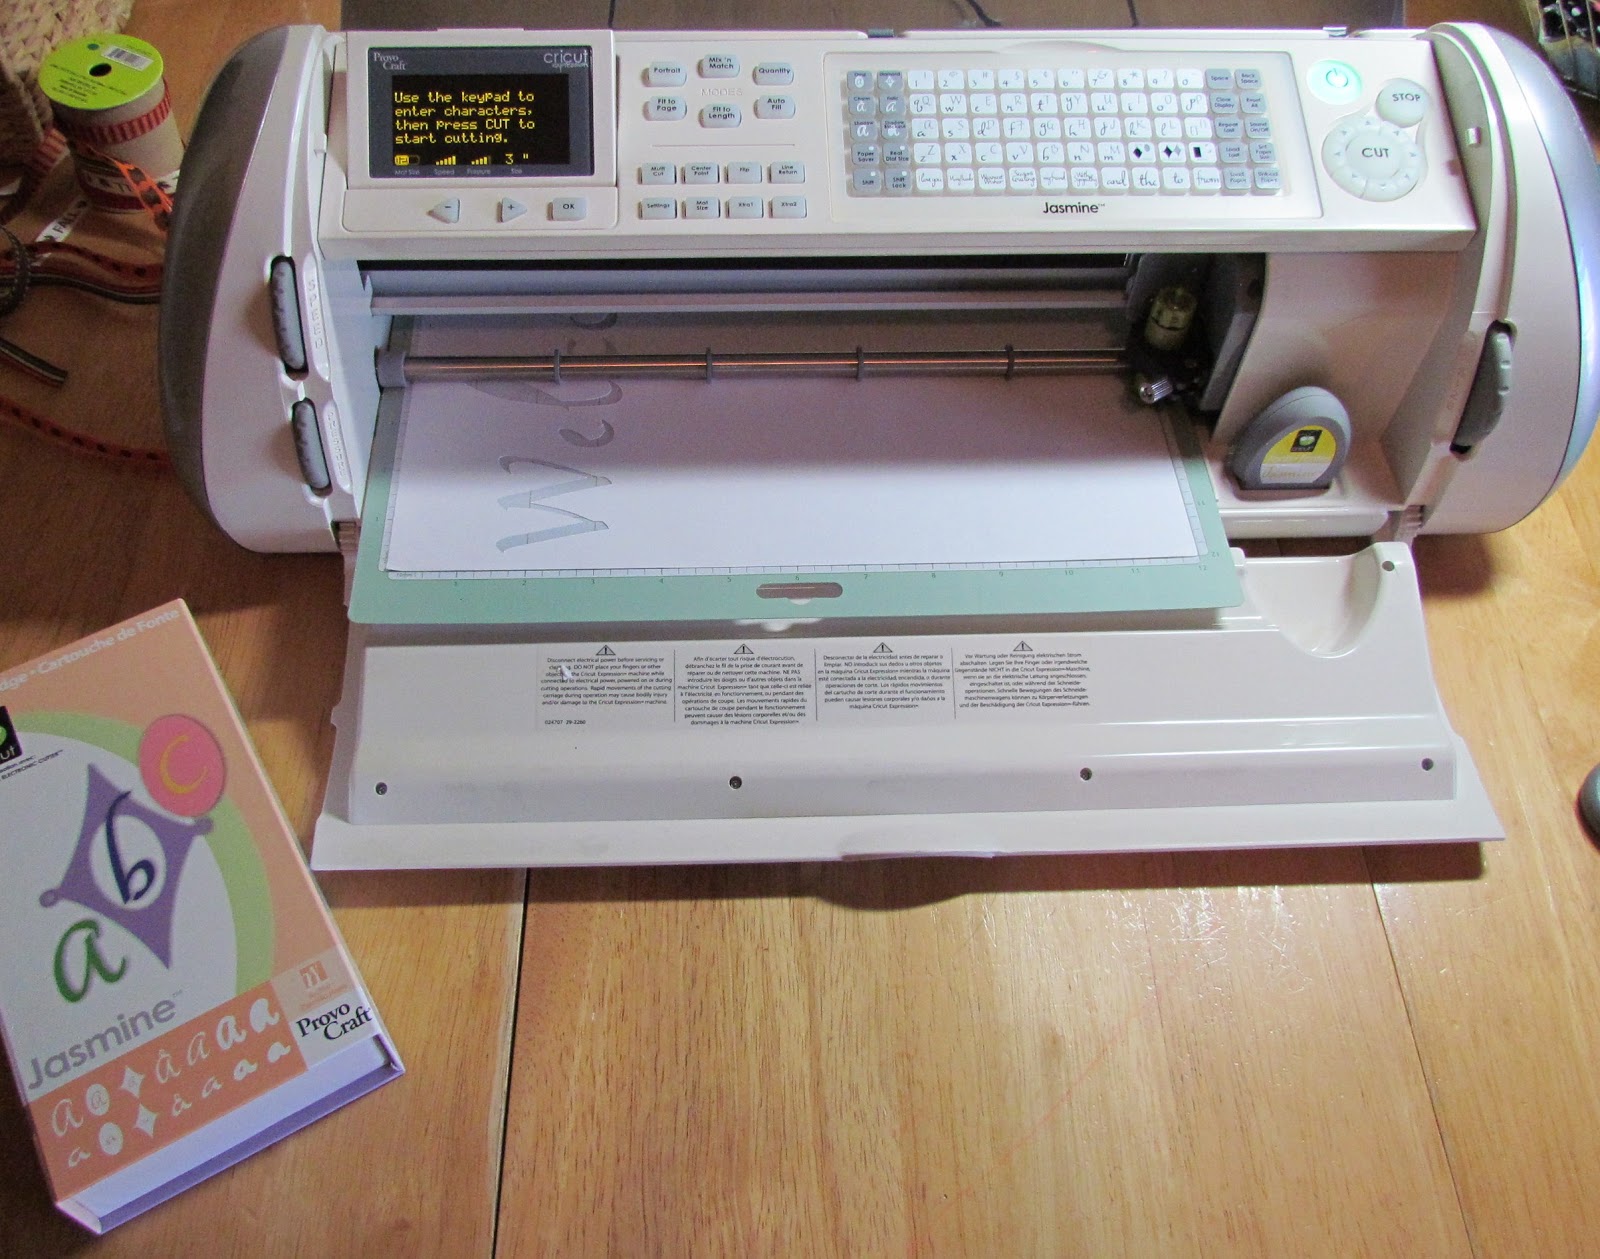
I first cut out stencils on the cricut
using just regular scrapbook paper.
(If you want "cleaner" lines, I would use vinyl for the
stencil. I was going for more of a stamped or rustic
look so I wasn't worried so much about the paint
seeping out under the paper.)
Then tape the stencils down on the fabric.
(I didn't like the extra space between the "n" and "g"
so I cut some of it out)

Using acrylic craft paint, carefully paint
over the stencils.
(The inner loop comes out of the l's and the e's
when removing it from the paper--
I just guessed and made my own "holes".)

Then start playing with the ribbons
to achieve the look you want.

I really liked the orange dotted one but I wanted
to be able to bring this one out year-round.

Sew the ribbons in place

and the pillows together.

If you're an up-cycler and/or thrifty, here
you can cut up an old bed pillow. Use the
outer lining of it to make a form the size
you need and then fill it with the stuffing from
the bed pillow. Free pillow form. Love it.
Esp when they are just headed
to the front porch!
(and your keeping them out of the landfill!)

Here they are on our loveseat.
Tomorrow, I'm cleaning our very dusty porch,
swing and windows so that I
can actually put them out there.
Autumn blessings to you and your home.


Comments