
This is a quick project that you can make from
scraps or stash. And, it's a batting-buster project!

(this slightly-longer runner was gifted)
If you are not familiar with the quilt-as-you-go
method, see this tutorial by the Fat Quarter Shop.

Notes:
I didn't feel the star block needed to be completely
quilted in so, I pieced the first sections traditionally,
then moved over to the quilt-as-you-go method.
I don't have amounts for fabric requirements
but you don't need much--you can eye it.
You could go real scrappy and use a different
fabric for each piece. Whatever works.
For a longer (or shorter) runner, add (subtract)
strips as desired.
Supplies
~ a scrap piece of batting approx 12" x 30" ~
~ backing fabric approx 12" x 30 ~
~ fabric scraps: red, ivory (or white) and blue ~
~ 2 gold strips at least 11" or more long ~
Cutting
From the blue(s) cut
(1) 5x5 square
(4) 3 3/8 x 3 3/8 squares*

*cut these 4 squares diagonally to make 8 triangles

From the red(s) cut
(8) 2 x 11 strips
From the ivory(ies) cut
(6) 2 x 11 strips
(4) 2 3/4 x 2 3/4 square
(1) 5 3/4 x5 3/4**

**Cut this square diagonally to make 4 triangles
From the gold cut
(2) 1 1/4 x 11

I started out with a little traditional piecing
for about half o the star construction.

Right sides together, stitch one ivory triangle and
one blue triangle together as shown.

Press seam to the dark side and repeat
with other side as shown.

Press open and trim. Repeat to make (4)
flying geese sections. Set (2) sections aside.

Sew a 2 3/4" ivory square to each side of the
remaining (2) flying geese sections. Press seams
outward (toward the ivory).
From here on, it's the "quilt-as-you-go" method.
Note: I did not trim the edges of my scrap batting
to make them straight because I felt I had enough
space to allow for error
(or maybe I just like livin' on the edge?)
but it would certainly be helpful to do so.

Place your backing on your table, wrong side up.
Find the exact center of your batting by folding both
vertically and horizontally and finger press in each
direction to mark the center.
Repeat this with the 5" blue square.
Center batting on top of backing. With right side up,
line up the center of the blue square to the center
of your batting, being careful to make sure it's
straight horizontally and vertically.

Place one flying geese section as pictured,
right sides together, on top of your square.
Pin in place.

Stitch and press open.

Attach remaining flying geese section
to the bottom in same manner. Press open.
Attach the longer geese sections to each side
in the same manner, pressing out as you go.

Place a gold strip, right sides together, on each
side of the star and pin; stitch & press out.
The gold strip is optional but I like the little
pop of color and definition it gives to the star.
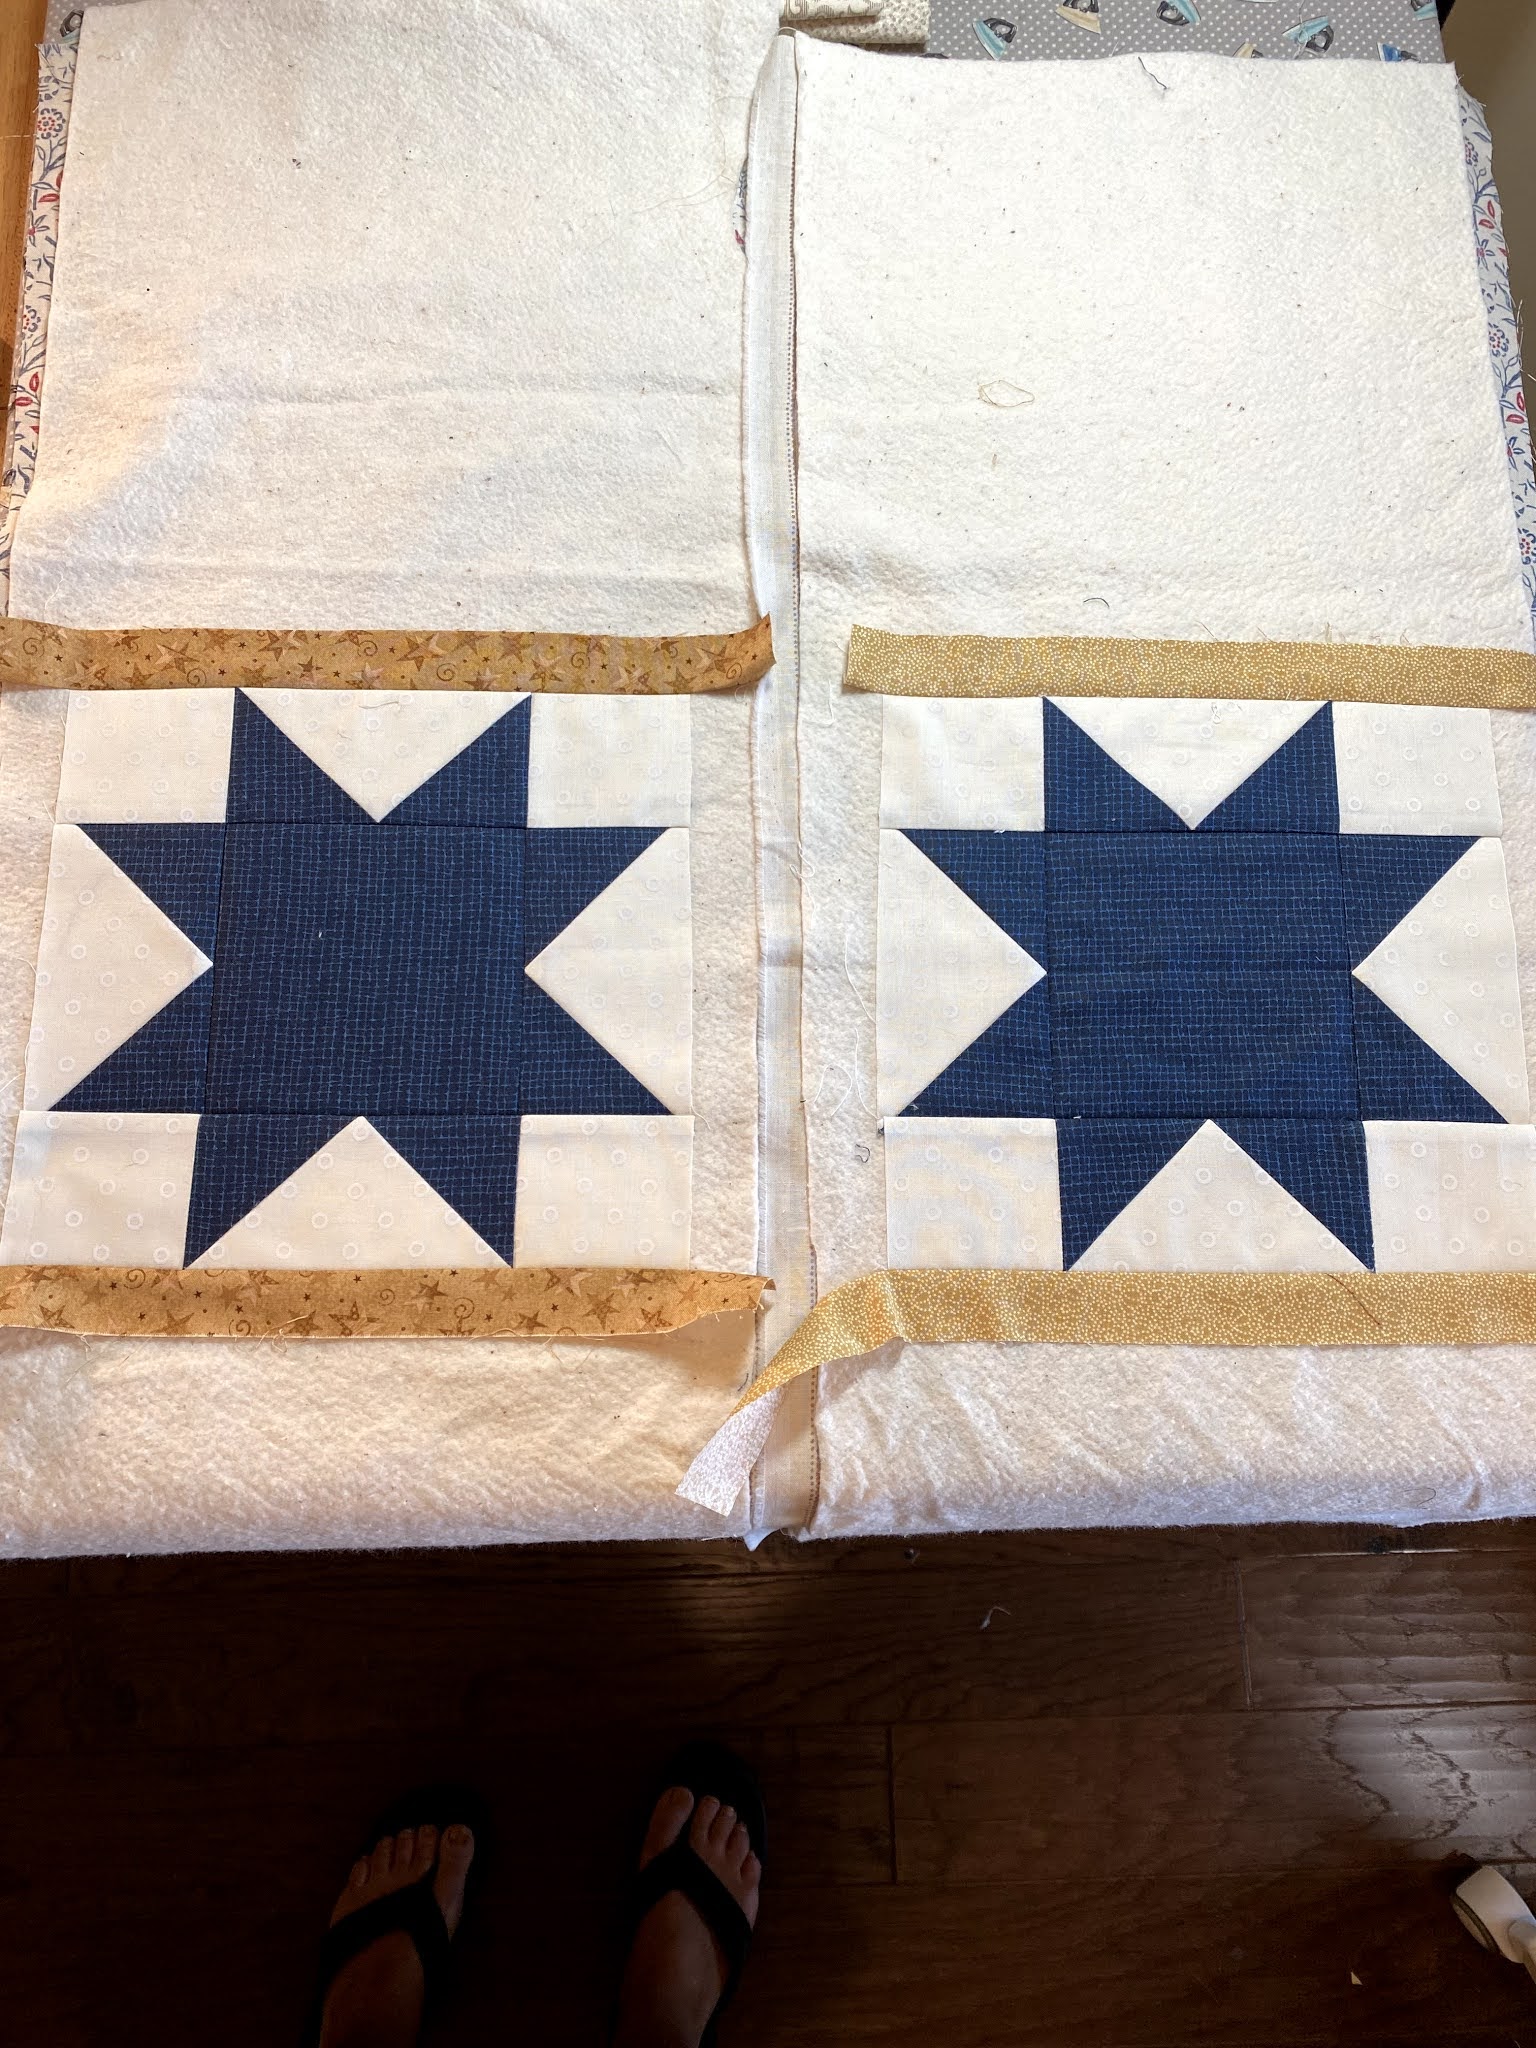
Here's where I'm at so far with my two runners.

Continue to add strips in the same manner,
pressing out well as you go to ensure your
strips stay straight. I suggest even checking
the distance from points on your star.

If you're not a pinner,
(I'm usually not), this is one of those times that you
should listen to that naggy voice that says,
"Hey, Cheree, I bet it would be helpful to pin this,"
but I hope your voice calls you by your own name
and not mine because that would be really weird.

So anyhoo, keep on adding strips until
you've reached the length you want.

Lining your ruler up along the edge of
the star block, trim off all excess.

I don't know about you, but I feel tidier already!
Bind. And you're done!

I've been showing both runners so you could see
the slight difference in look. Mine is a little shorter
and has the white (ivory) strips on the outside;
The red binding still gives it that dark edge.
This runner is yours to do with as you wish
but please link back to me for props.
Let's give credit where it's due, eh?
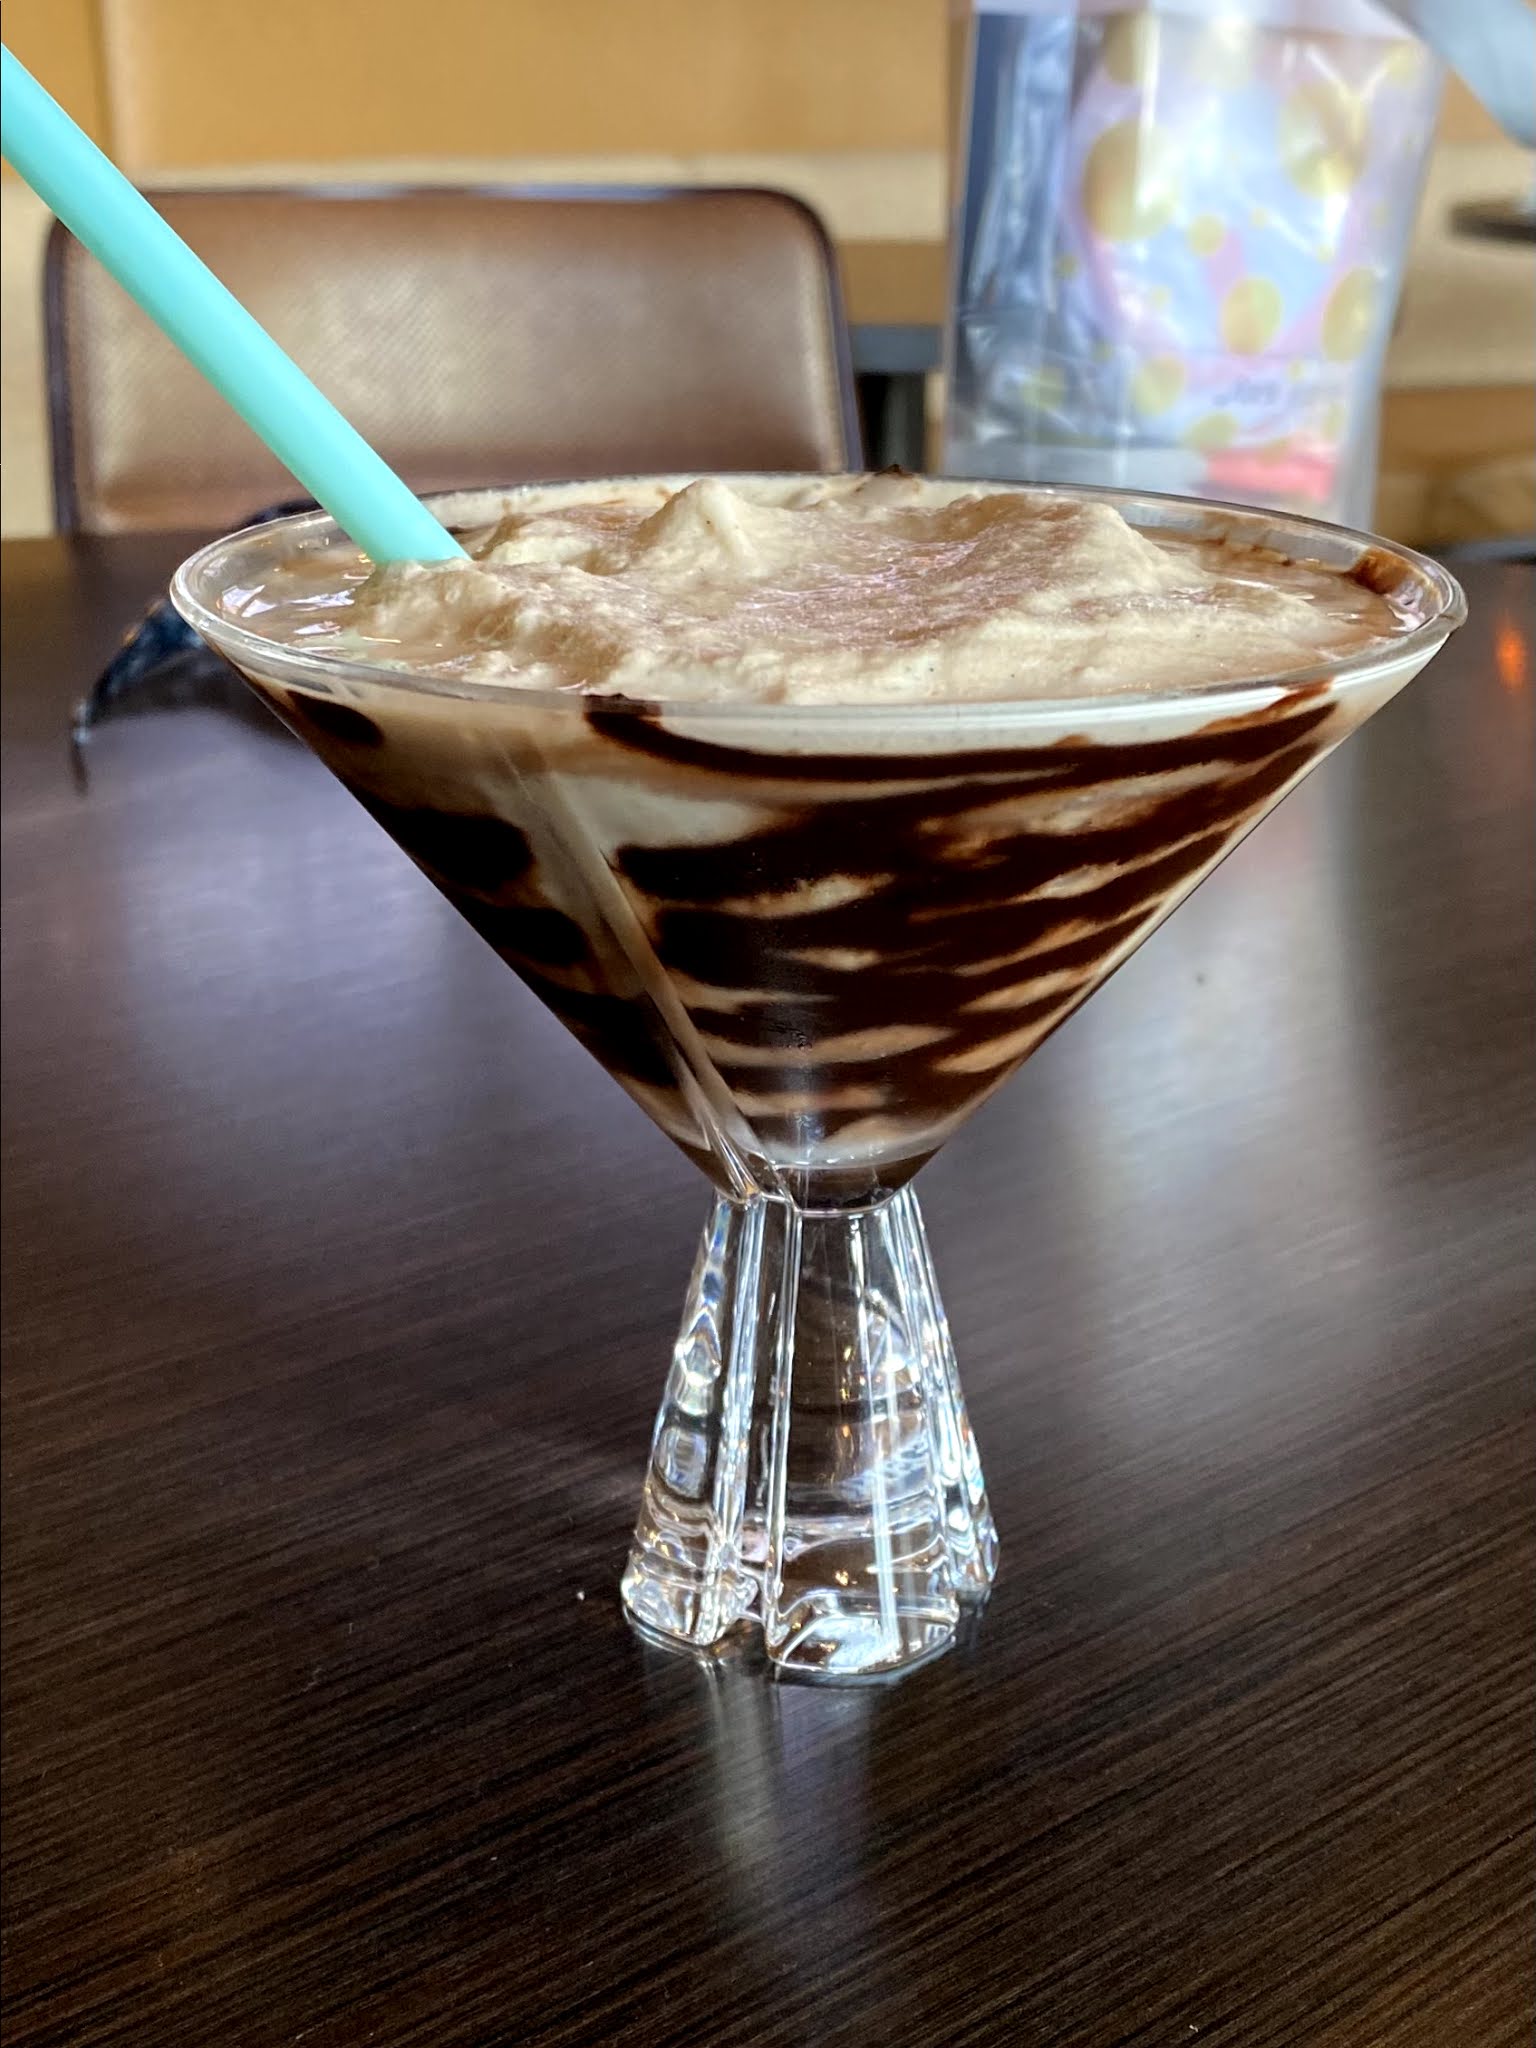
Now, go have an espresso martini with a friend...
which is exactly what I did after making mine!
Comments